
Raspberry Pi is a cheap and powefull platform to use in home oriented apps, and light use web servers. Also it’s serves as a programable controller for robotics. In our case, we will be using it as a multi purpose server, installing an OS like Ubuntu 20 server.
Requirements
- Raspbery Pi, in this case a Raspberry Pi 4 Model B with 8GB for our 64 bit OS, but, you can use other ones, and pick the 32bit Ubuntu version.
- A MicroSD card. The size will depend on your future plans with your Pi.
- A MicroSD card reader,
- An image burner program like Raspberry Pi Imager.
Burning Ubuntu into the MicroSD card
First step is to install an image burner software. In our case, we will use Raspberry Pi Imager as mentioned above.
Download it and follow the installer insctructions.
After it’s been installed, we proceed to open it. It should show the following window:
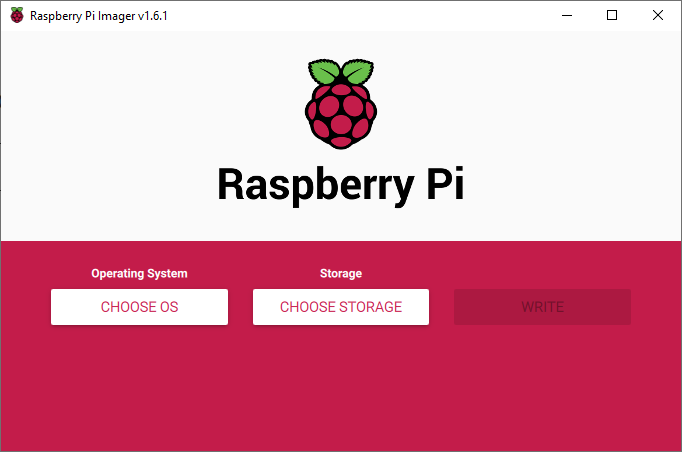
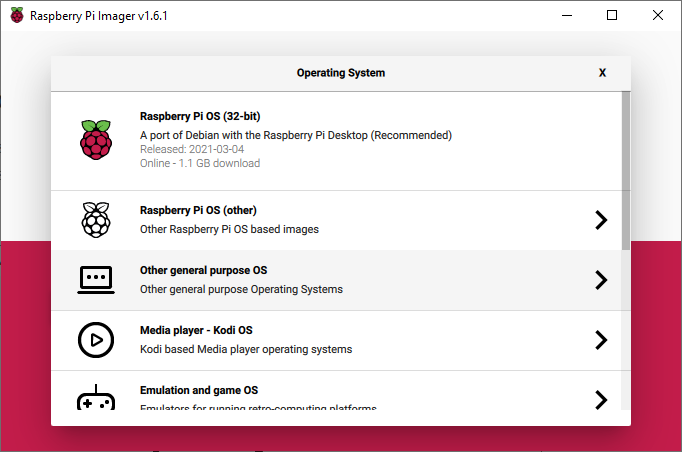
At the next window, we can pick an OS, so click on CHOOSE OS. It will show up a list of different options based on the OS purpose. In our case, we will select Other general purpose OS:
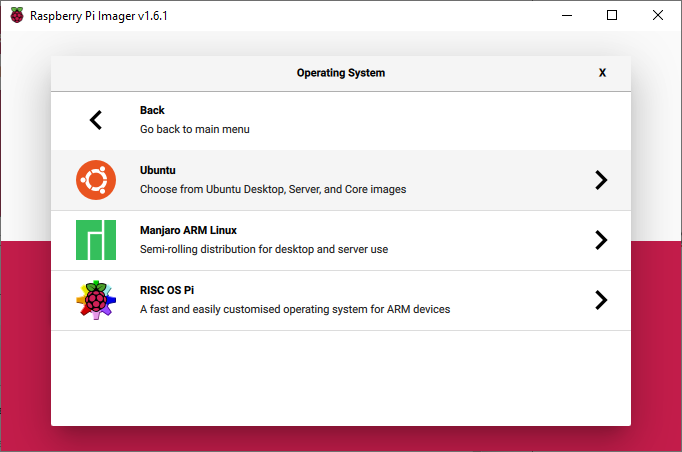
And now let’s pick Ubuntu:
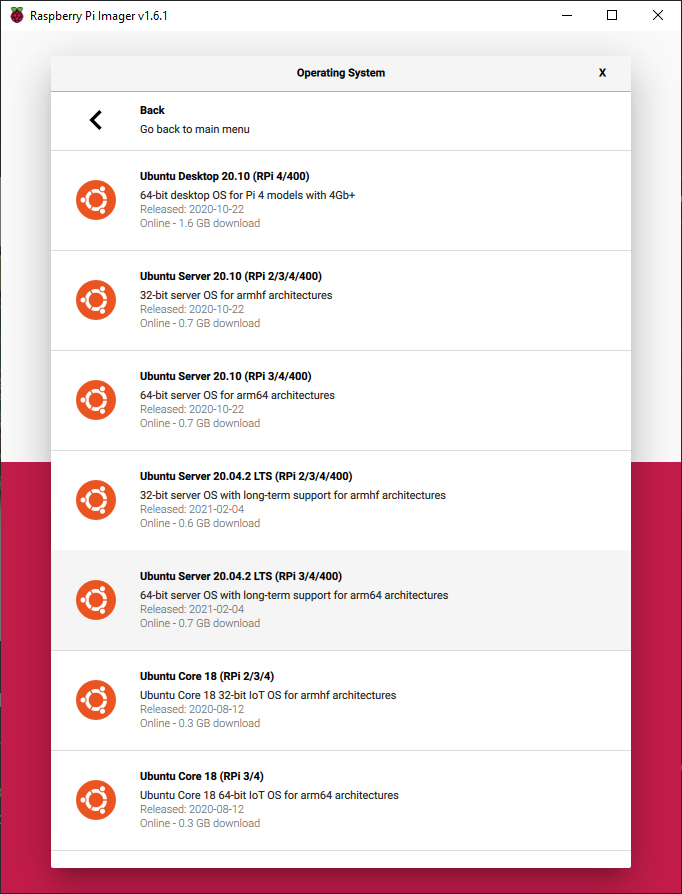
On the next window, it’s time to choose our OS, here is where you must pick the one which fits your Raspberry, as you can see, the models are listed. I recommend picking Ubuntu’s LTS versions. I’ll go with Ubuntu Server 20.04.2 LTS 64 Bit:
Once selected the OS option, we will turn back to the main screen. There we click on CHOOSE STORAGE and pick our MicroSD card. Then click on WRITE and just wait till it finishes.
Ubuntu Server initial configuration
Now let’s talk a bit about a few basic changes on the installation, concerning users and ssh connection.
First of all, insert the MicroSD into the Raspberry, and connect the RJ45 (internet) cable, a keyboard and a screen. Now, boot up the Raspberry by connecting the USB power.
You should get a video input on the screen. Shortly will ask the user and password, which are the following:
- User: ubuntu
- Password: ubuntu
After that, a new password for the ubuntu user will be asked.
Create a new user and deactivate default one
Log in again using ubuntu as user and your new password. Now, for security, we will create our own user and disable ubuntu. I’m gonna use myuser as an example, so change it to your preference:
sudo adduser myuser
Follow the instructions to create the user. User information as phone number, addres, etc, are not mandatory, so you can skip it by not filling it and just pressing enter.
Then, let’s give sudo permissions to our user:
sudo nano /etc/sudoers.d/90-cloud-init-users
It should look like this:
# This file MUST Created by cloud-init v. 20.4.1-0ubuntu1~20.04.1 on Wed, 01 Apr 2020 17:23:55 +0000
# User rules for ubuntu
ubuntu ALL=(ALL) NOPASSWD:ALL
Lets add the following lines at the end:
# User rules for myuser
myuser ALL=(ALL) NOPASSWD:ALL
Now, let’s login with our new user:
sudo su myuserAnd deactivate user ubuntu:
sudo usermod -L ubuntuIf you want to reactivate in the future, the comand is as follow:
sudo usermod -U ubuntuSSH Connection
First of all, we must update our repository by executing this:
sudo apt updateAnd this other line to update all packages:
sudo apt upgradeNow, we will take note of our Raspberry Pi server IP. To achieve that, we have two options. First one is:
ip addressThis command output will look like this. Take note of the IP shown as inet on eth0, that should be the one we’re looking for. In our case, is 192.168.1.10, but in yours could be other:
1: lo:  mtu 65536 qdisc noqueue state UNKNOWN group default qlen 1000
     link/loopback 00:00:00:00:00:00 brd 00:00:00:00:00:00
     inet 127.0.0.1/8 scope host lo
        valid_lft forever preferred_lft forever
     inet6 ::1/128 scope host
        valid_lft forever preferred_lft forever
 2: eth0:  mtu 1500 qdisc mq state UP group default qlen 1000
     link/ether 00:00:00:00:00:00 brd ff:ff:ff:ff:ff:ff
---> inet 192.168.1.10/24 brd 192.168.1.255 scope global dynamic eth0
        valid_lft 52828sec preferred_lft 52828sec
     inet6 0000::0000:0000:0000:0000/64 scope link
        valid_lft forever preferred_lft forever
 3: wlan0:  mtu 1500 qdisc noop state DOWN group default qlen 1000
     link/ether 00:00:00:00:00:00 brd ff:ff:ff:ff:ff:ff
To the second one, we must install net-tools to be able to check the IP:
sudo apt install net-toolsAnd now, execute this command to show the IP:
ifconfigIt should output a bunch of info, but we’re looking for the IP at the second line, the inet row on eth0 group. In our case is 192.168.1.10:
eth0: flags=4163  mtu 1500
---->    inet 192.168.1.10  netmask 255.255.255.0  broadcast 192.168.1.255
         inet6 0000::0000:0000:0000:0000  prefixlen 64  scopeid 0x20
         [...]
Now that we have our IP address, we should be able to connect through SSH, if your using windows, press WIN + R. A little window should appear in the bottom left coner. Type the text shown, replacing the user and ip whit yours:
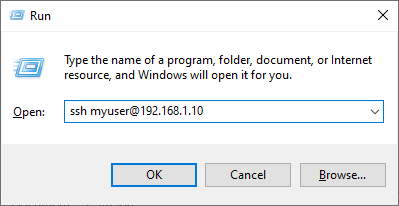
A window will appear, asking for the user password. Type it… And you’re in!


