
When you have lots of different services running in your servers, could be a little messy to have all of them grouped in different markers on your web browser. To solve that, there are several web applications that acts as a dashboard to all of that services. Homer is one of that dashboard applications, and I’ll cover the needed steps to a fresh install on Ubuntu.
Requirements
To continue with this post, you will need the following:
- A machine, virtual machine or linux container with Ubuntu 20.04 installed.
- Internet connection and admin privileges on the machine above.
Installing a web server, NGINX
I’ll be using NGINX as the web server. Before installing it, we should update from our repos:
sudo apt updateNow, we’re ready to install NGINX:
sudo apt install -y nginxLet’s enable NGINX service, so it will starts at boot.
sudo systemctl enable nginxDownload and unzip Homer dashboard
To download it, is as follows:
cd && wget "https://github.com/bastienwirtz/homer/releases/latest/download/homer.zip"We will need unzip package to extract Homer, if you already have this installed, toy can skip this step:
sudo apt install -y unzipExtract Homer zip:
udo unzip homer.zip -d /usr/share/nginx/homerInstalling Homer
First, we should change the owners of Homer’s files:
sudo chown www-data:www-data /usr/share/nginx/homer/ -RCreate a NGINX config file to launch Homer:
sudo nano /etc/nginx/conf.d/homer.confInside that file, paste something like this, changing the needed parts, like the port and server name, to your own needs:
server {
    listen 80;
    # IPv6 listen if you want to
    #listen [::]:80;

    server_name homer.runesoft.local;

    # Path to homer installation
    root /usr/share/nginx/homer/;

    # Log paths
    access_log /var/log/nginx/homer.access;
    error_log /var/log/nginx/homer.error;
}
Time to test the NGINX config we created above:
sudo nginx -tIf it worked, restart NGINX to load that config:
sudo service nginx restartConfiguring Homer
With the previous steps, if we go to the designed IP or domain name of our Homer installation, and the required port, we should see something like this:
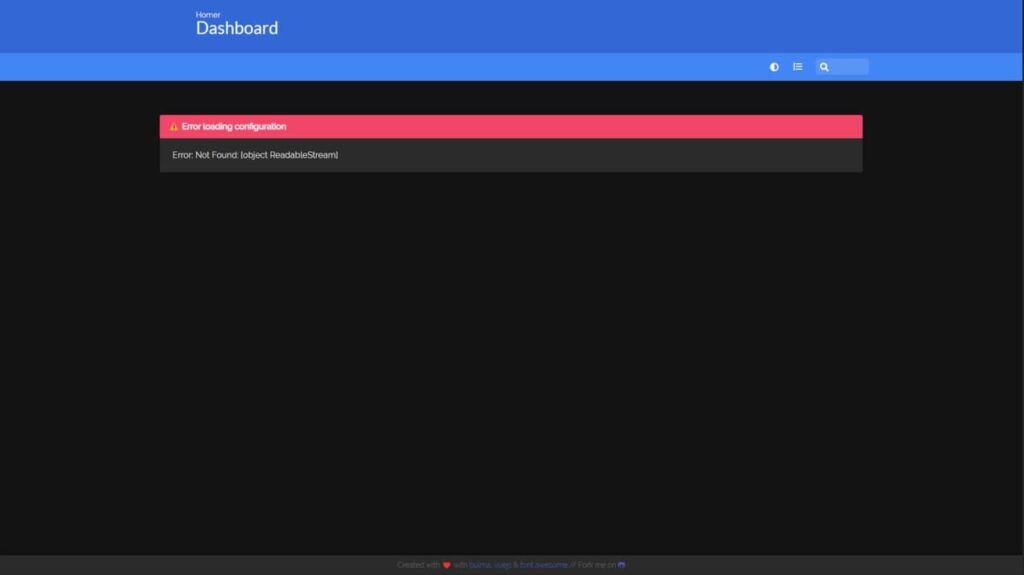
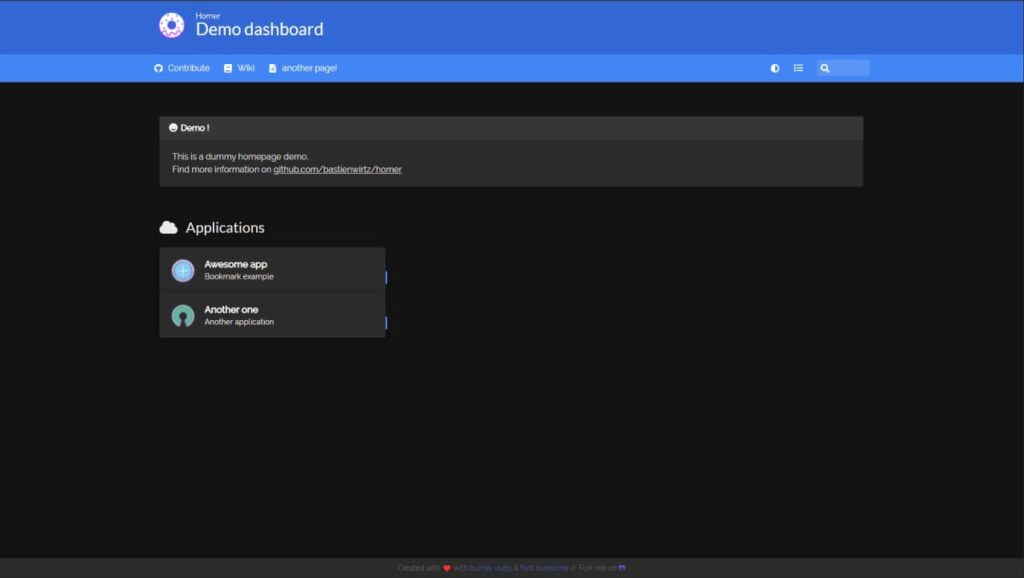
This means that Homer is running, but has no config file. This file is named config.yml, and we must create it. But for easy use, Homer provides an example, that we will copy:
sudo cp /usr/share/nginx/homer/assets/config.yml.dist /usr/share/nginx/homer/assets/config.ymlNow, if we refresh the browser, we will see Homer’s demo dashboard:
To change it, and make it ours, just open the config.yml file:
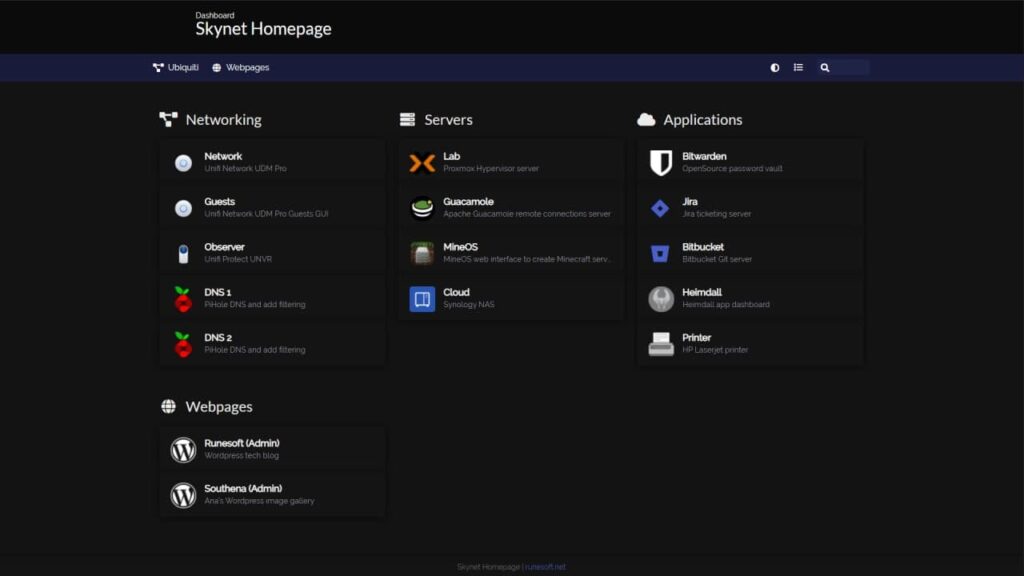
sudo nano /usr/share/nginx/homer/assets/config.ymlThere, Homer’s author gave us significant comments over the different options and configs, it’s up to you to change them, and make Homer prettier and nicer, and add yout applications. Mine dashboard ended like this (will make some improvements on the future!):


