
PostgreSQL is one of the most used relational databases nowadays, and, if we want to host it to our production projects, or on a more static way, we will need to do it on a server, using bare metal, VMs, or LXC containers. In this post we will cover how to install and configure PostgreSQL in Linux, in this case, using Ubuntu server on an LXC container over Proxmox.
Requisites
These are the needed requisites to continue with this tutorial:
- A server with Ubuntu installed. If you don’t have one, and you have a Raspberry Pi, you can follow this guide!.
- SSH or direct connection to that server.
- Have some DB Admin GUI/CLI, I use DBeaver.
Installation
First of all, we will need to update APT repositories on Ubuntu:
sudo apt updateWith this done, we can proceed with installing PostgreSQL, using this command:
sudo apt install -y postgresqlIf all went ok, PostgreSQL should be already up and running. Let’s check it executing:
sudo service postgresql statusBy default, PostgreSQL does not allow remote connections, and we will also need to create our user and DB.
Creating a database and a user
To be able to create everything we need inside PostgreSQL, we first need to connect to Postgre CLI. By default, postgre has an admin user named postgres, and we will use sudo command to log in with admin privileges:
sudo -iu postgres psqlNow that we have the console, we will create our database. Remember to substitute the values with the ones you want:
create database <database_name>;Once created the database, we will create a user, with its password:
create user <user_name> with encrypted password '<user_password>';When we create a user, by default, it does not have any privileges over the different objects of the database server. We can grain all the privileges over different objects, in the case of a DB, we have this main ones:
Refer to PostgreSQL official documentation for more about privileges and granting.
- ALL: Gives all privileges over the database.
- ALTER: Gives privileges to modify tables, sequences, triggers…
- CREATE: Gives privileges to create tables, sequences, triggers…
- DROP: Gives privielges to drop tables, sequences, triggers…
- DELETE: Gives privileges to delete tables, sequences, triggers…
- INSERT: Guives privileges to insert new data on tables.
- UPDATE: Give privileges to update existing data on tables.
- SELECT: Gives privileges to obtain data from tables, view sequences, triggers…
But for this case, where we just want a user able to administrate a database, we will gran all privileges over that DB we created:
grant all privileges on database <database_name> to <user_name>;In PostgreSQL, we also can grant admin privileges to the user, instead of going one DB after another if we have more than one. Remember that this could be an insecure aproach, always use strong passwords:
alter role <user_name> with superuser;With all of this steps, we now have a database created inside our PostgreSQL server, a user who can access it, and we know how to log into PostgreSQL CLI.
Enabling remote access
Next step is to enable remote access on the PostgreSQL server, to do so, we need to alter two files, being the first one:
sudo nano /etc/postgresql/14/main/pg_hba.confWhere we should add the following line to allow all conections to our host:
# Enables remote access to all IPs
host    all             all             all            scram-sha-256
Save the changes, and let’s edit the second file, where we will define which IP addresses our server will listen to:
sudo nano /etc/postgresql/14/main/postgresql.confFind for the following line:
# - Connection Settings -
#listen_addresses = 'localhost'         # what IP address(es) to listen on;
And substitute localhost with *, so our server listens to any IP Address. If you want to just listen to one client, or a subnet, you can put it here instead:
# - Connection Settings -
listen_addresses = '*'                 # what IP address(es) to listen on;
Save the file, and restart PostgreSQL service to load the changes made on those files:
sudo systemctl restart postgresqlCheck the connection
Open your DB Admin GUI of your preference. I use DBeaver as mentioned in the requisites section. Once opened, click on “New connection” on the top left:
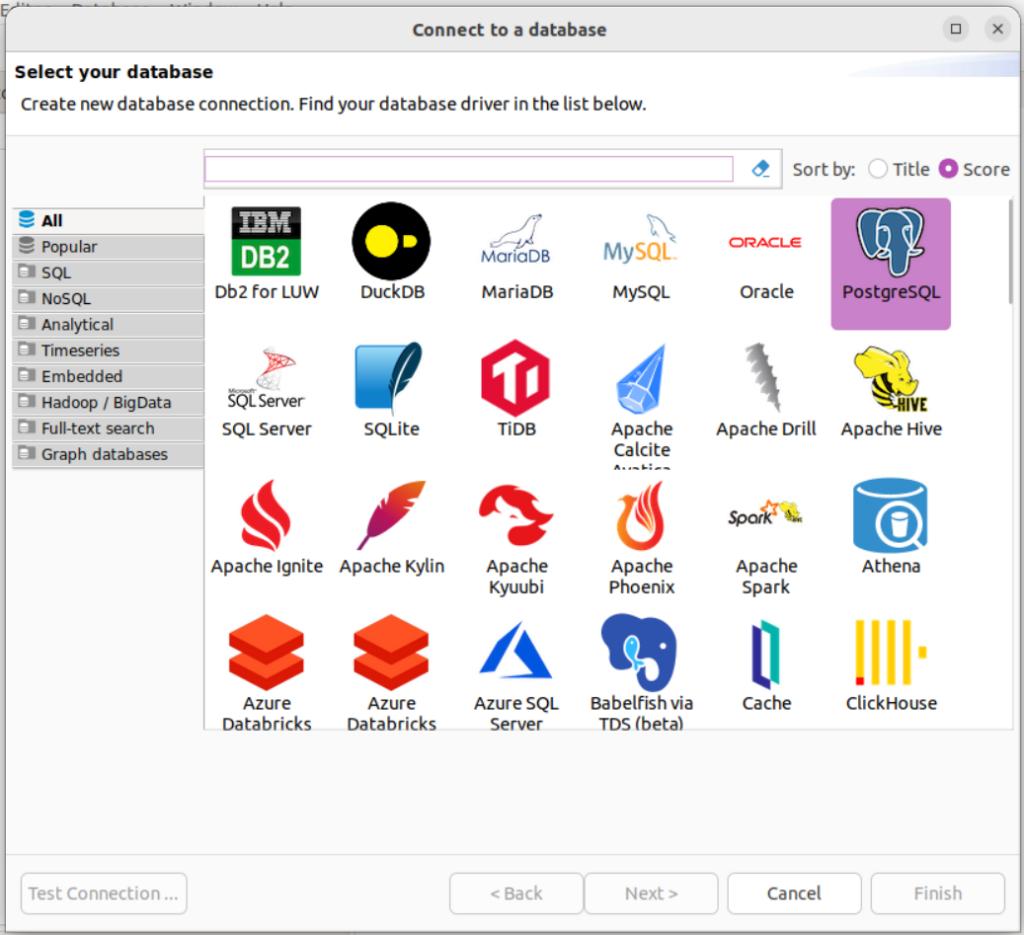
Select PostgreSQL and click on “Next >” to go to Posgres’ connection configuration.
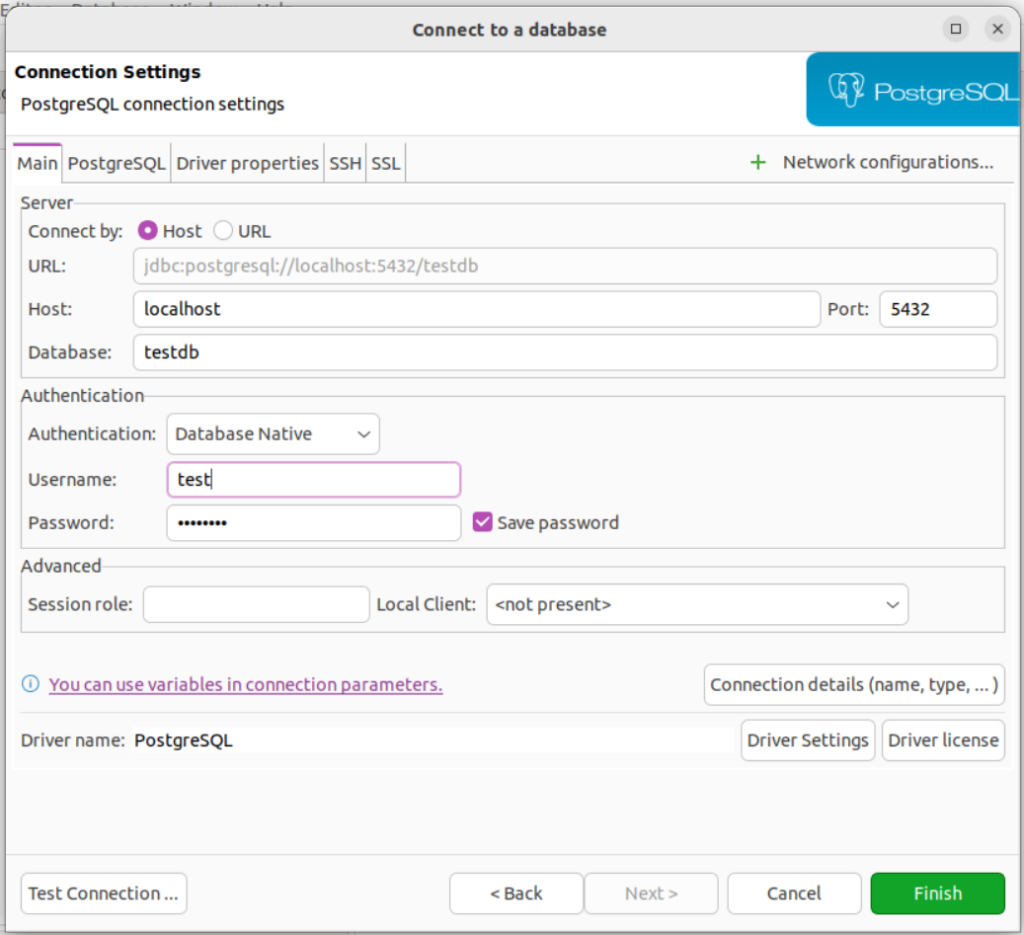
Fill it with your host URL, database, connection user and password, and now click on “Test Connection …“.
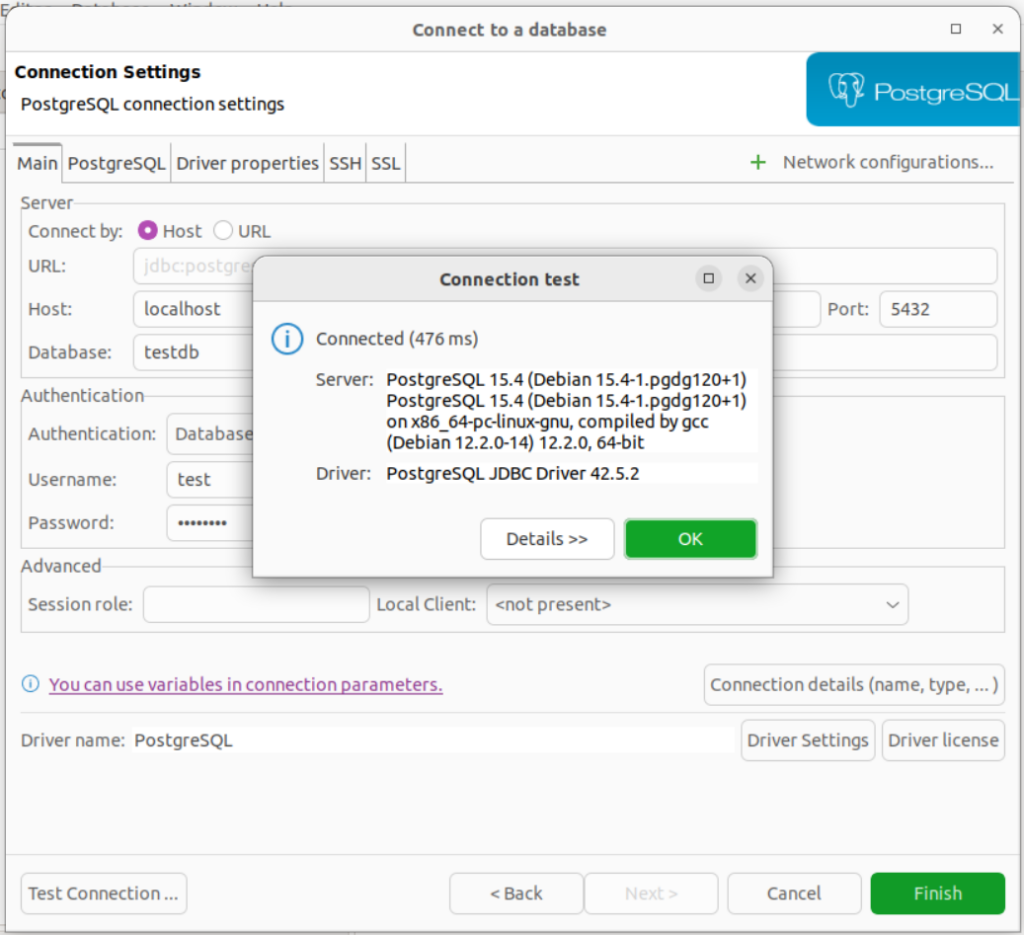
Now we checked that the database is created an listening to connections! Clikc on finish and then you will be able to play around with your new PostgreSQL server database.
Conclusions
What we have learned so far:
- Installing PostgreSQL on ubuntu.
- COnnecting to PostgreSQL console.
- Creating a database and a user.
- Granting privileges.
- Allowing remote connections to our server.
- Testing that connection with a DB Admin CLI like DBeaver.
Hope it was simple and helpful! Feel free to ask any questions or commenting in this post!


