
One of the most simple and useful tools for a homelab is a dashboard. Homarr, like Heimdall or Homer, cover that part ob being a Dashboard, but keeping the good points of each one, allowing a lot more customization from the webapp itself.
You can check the official website and, if you are intesrested, Homarr is open source, so it has a GitHub repo.
Requisites
Here is the list of the requirements needed to proceed with this post:
- Have Docker installed. If you don’t have it, you can follow this guide I’ve posted: How to install Docker and Portainer CE.
- Portainer (Optional). Can also be installed following the guide above.
Homarr Installation
Homarr maintainers recommend us to use the Docker way of their app, instead of running the source code itself. Let’s take that recommendation for easy maintenance. I will cover two different ways, as always, to proceed with Docker deployments: Docker CLI and Portainer CE, which is a GUI. Also, inside each part, I will drop a compose/stack file for easy use.
Install Homarr with Docker CLI
Following Homarr’s official documentation site, we will execute this command, just remember to change the paths mapped on the volumes to the paths you want. Those paths are where you can set the icons and aditional configurations you want to be able from Homarr.
docker run  \
  --name homarr \
  --restart unless-stopped \
  -p 7575:7575 \
  -v /opt/homarr/configs:/app/data/configs \
  -v /opt/homarr/icons:/app/public/icons \
  -d ghcr.io/ajnart/homarr:latest
With this Docker command, we should have Homarr up and running.
Install Homarr with Docker Compose
As always, I usually prefer to have a docker-compose.yml file, so I’ll drop it here so you can customize and use it:
version: '3.5'

services:
  homarr:
    image: ghcr.io/ajnart/homarr:latest
    restart: unless-stopped
    volumes:
      - /opt/homarr/configs:/app/data/configs
      - /opt/homarr/icons:/app/public/icons
    ports:
      - 7575:7575
Remember to save it in a folder, an execute it using:
docker compose upInstall Homarr with Portainer CE
If you want to proceed with this method, remember that you will get the same result as the one before. Also, don’t forget to remove the container with:
docker container rm -f homarrOther way of installing or deploying containers is by using a web interface called Portainer CE. If you have it installed, we can proceed by going to it’s homepage (by default is at https://localhost:9443) and select the local enviroment to begin with. Now, go to Containers secction at the left menu, and click on + Add container. In this case we will use the Advance mode to fill up the image, like so:
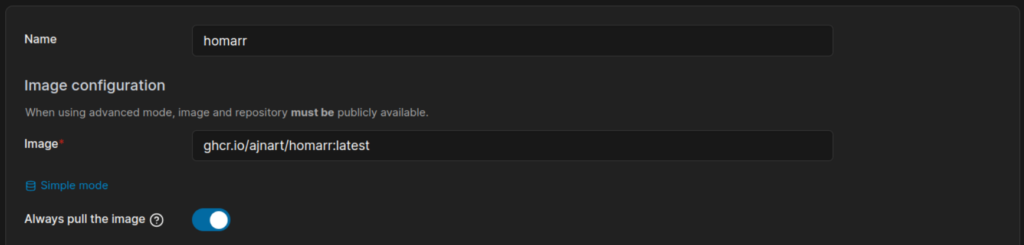
Fill the fields with the name you want to give to the container, and the complete path to the image, in this case, as we used before in the CLI, should be ghcr.io/ajnart/homarr:latest. Now, le’ts configure the needed ports, by going to Network ports configuration and clicking on + publish a new network port, and use 7575:

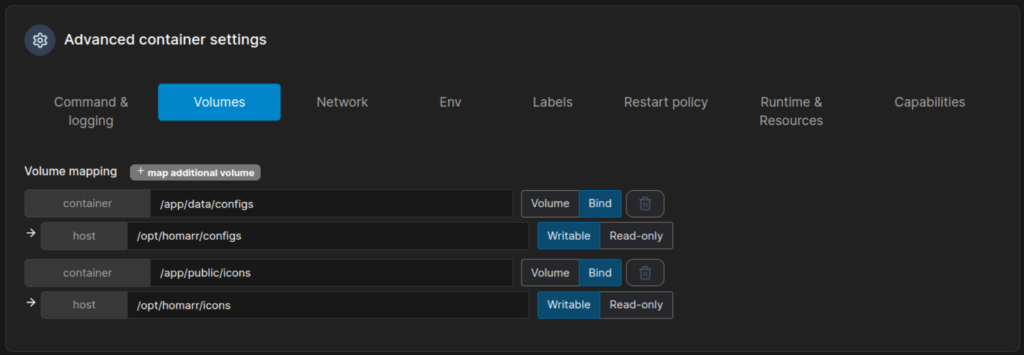
As the last step, we should map the volumes, so we can acces the configuration, or add new icons from our system. To do so, go to Advanced container settings, and select the tab Volumes. There, just click on + map additional volume, and fill up with this volume mapping data. Don’t forget to change the host paths to your needs, this ones are just examples:
| Container | Host |
| /app/data/configs | /opt/homarr/configs |
| /app/public/icons | /opt/homarr/icons |
And it should end up as follows:
Now we finished all the required configuration, just click on Deploy the container, just above Advanced container settings.
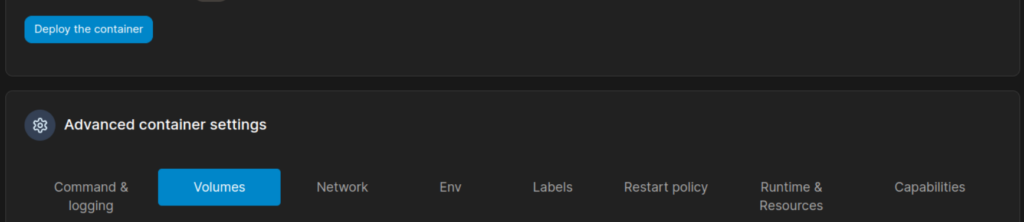
Portainer will launch the required container with Homarr running on it.
Install Homarr with Portainer and Stacks
Like with Docker Compose, on Portainer we have the Stacks section, just go there, and click on + Add Stack. There, put a name an copy the same as before:
version: '3.5'

services:
  homarr:
    image: ghcr.io/ajnart/homarr:latest
    restart: unless-stopped
    volumes:
      - /opt/homarr/configs:/app/data/configs
      - /opt/homarr/icons:/app/public/icons
    ports:
      - 7575:7575
It should end up looking like this:
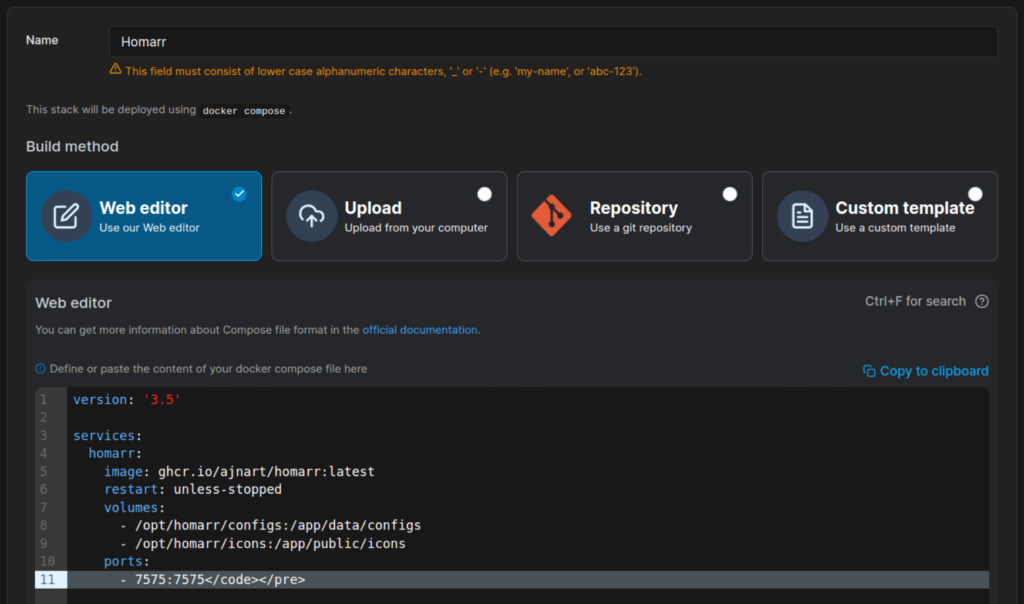
Click on Deploy the Stack and it’s done!
Check installation
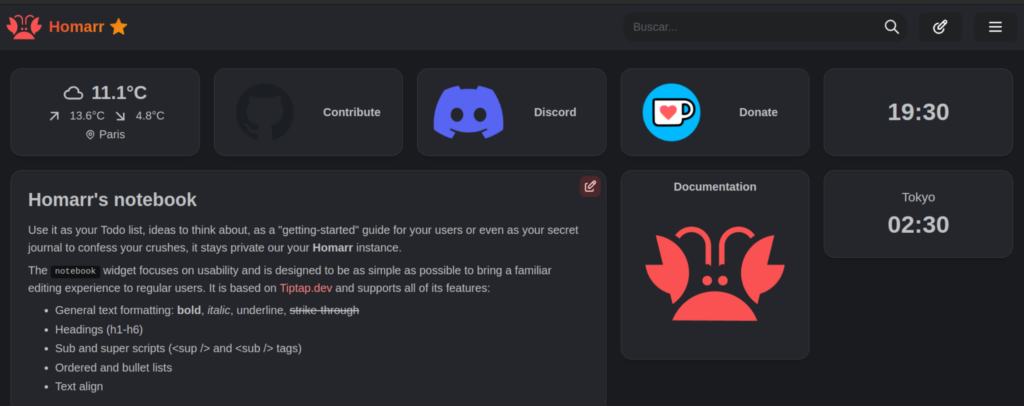
Following one or another of the methods above, we should have ended with the same result: Homarr up and running, ready to use. Now, we could check our Homarr installation by going to http://localhost:7575 (or the server URL where you istalled it if not locally). We will see the following landing page:
Customization
One of the benefits of Homarr, is the amazig customization that allows, and its easy use. Just need to do it from the webpage itself! I’ll cover a few things, like the Applications, Widgets and Categories.
To sbe able to see those options, we have to enable the Edit Mode, which we can activate by clicking on the top right pencil icon:
Applications
For Homarr, an aplication is a link to one of your services, which you can configure and customize, and also add some integrations or network settings to see that service status.
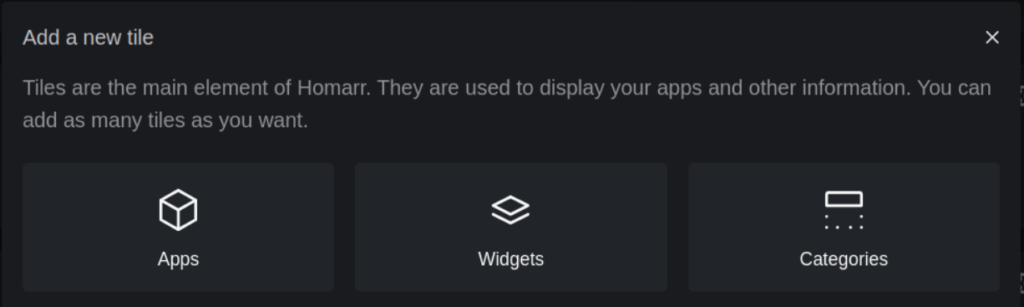
To create one, enter in Edit Mode, and click on Add a Tile. There, the menu should appear. Select Apps. A window will pop up, with different tabs and forms:
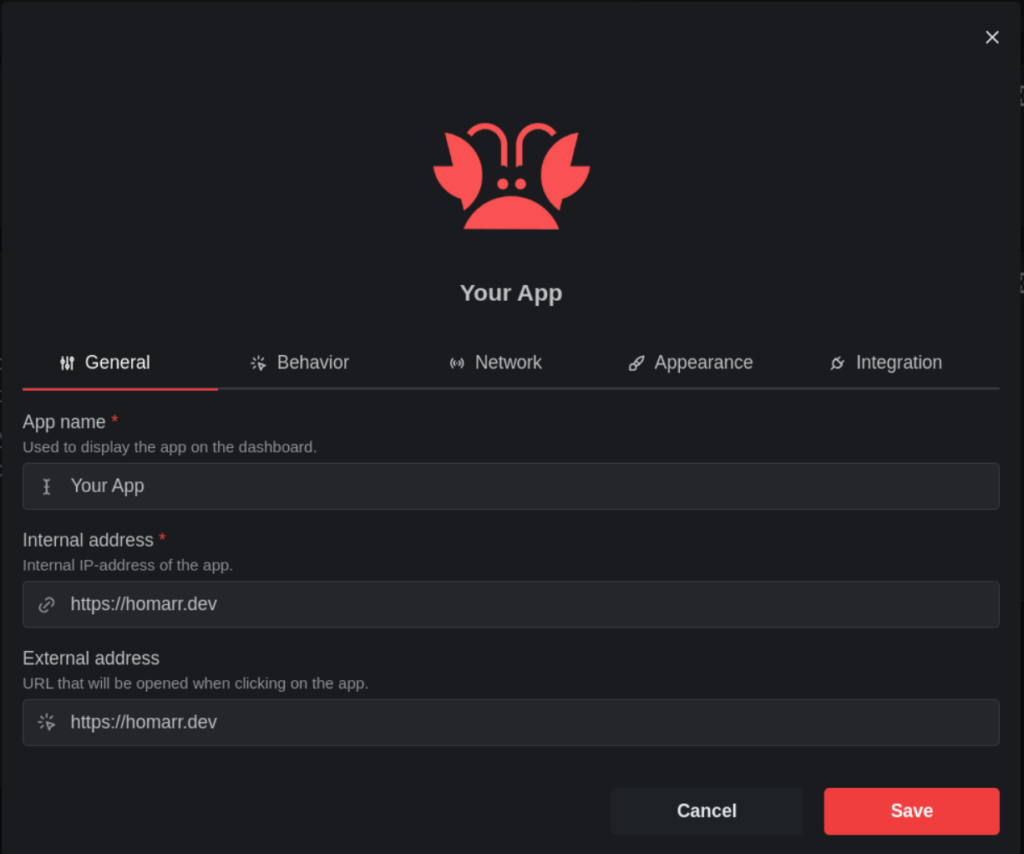
Just explore the different options, and configure your application at your needs. The basic are just the name and the internal address, to be able to link up to the serive you want to create inside Homarrs Dashboard.
Widgets
Homarr offers us lots of widgets, from a calendar and a weather tile, to a video streaming from a security camera or a internet speedtest. Just enter Edit Mode, Add a Tile and select Widgets. There, a list like this one should appear.
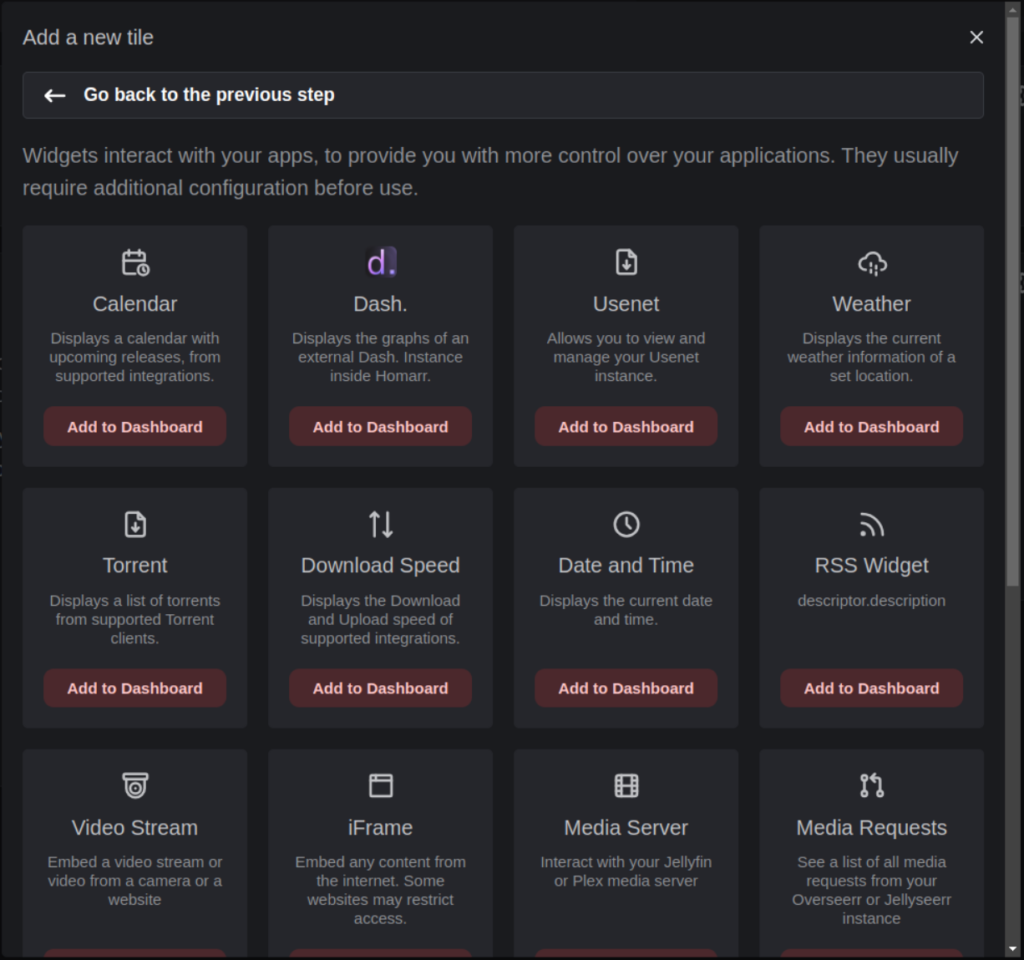
Explore your favourites. Some of them have a configuration, like the Video Straming, or the Media Server, but could be pretty usefull if you need them!
Categories
Categories ar just ment to organize the tiles on our Dashboard. To create one, enter Edit Mode, Add a Tile and select Categories. This simple form will appear. Fill it with the category name.
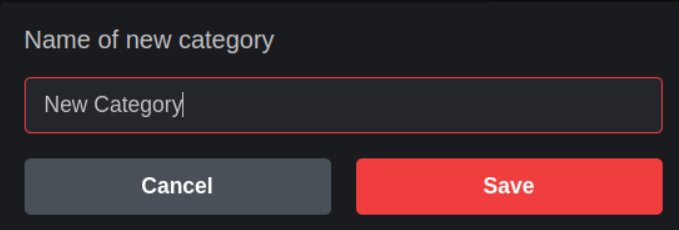
After clicking on save, a container will be created on our dashboard, letting us drag and drop tiles inside it, and organize them as we need.
Conclussions
What we have learned so far:
- What is Homarr.
- How to install it with Docker CLI.
- How to install it with Portainer CE.
- Homarr configuration and customization basics.
Hope you learned something new with this post, and keep up with more on this blog!

