WordPress is an easy to use web page server. With a few steps you will get a private web interface to create webpages, using existing themes and customizing them. It’s quite simple, and I encourage all of you to have your own!
In my case, as the title says, WordPress is running over one of my Raspberry Pi 4B (8GB).
I’ll take for granted that a Raspberry Pi is installed, up and running. If not, and you don’t know how to do it, visit my post, where I deeply go through all the steps.
Requirements
Here is the list you will need to follow this guide:
- Raspberry Pi.
- Ubuntu 20 installed.
- SSH or direct connection to the machine.
Just remember that, if you want, you can aproach this by using a PC or VM with Ubuntu 20, which is the essential part.
Installing Apache web server
We will first install Apache server. This server allows us to publish our webs (yes, you can use it to your future web projects, not only for WordPress). In this case we will combine it wih PHP later because Wordpres relies on it.
Connect to your raspberry and execute this command line to install Apache:
sudo apt-get install apache2It will take a bit to install, but after doing it, Apache is up and running, we can check it by executing:
sudo service apache2 statusIt should tell us that is “active (running)”
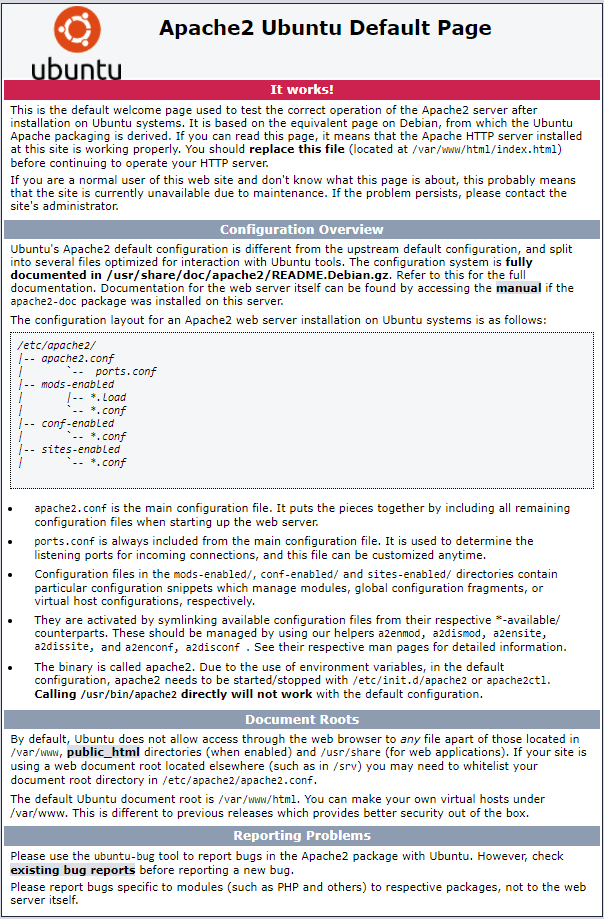
Also, you can connect to your server via HTTP with your web browser, and you should get this:
We must enable an Apache mod, which allows to rewrite URL to be more readable:
sudo a2enmod rewriteNow, let’s move to the folder were Apache reads the webs to publish by default, and perform a clean up to delete that default page, and create a new folder to host WordPress:
sudo rm -rf /var/www/*
sudo mkdir /var/www/wordpress
Time to create the config file for WordPress:
sudo nano /etc/apache2/sites-available/wordpress.confThe file content should be as follows, just change the server name and admin to your needs:
<VirtualHost *:80>
        ServerName wordpres.local
        ServerAdmin your.admin@mail.com
        DocumentRoot /var/www/wordpress

        <Directory /var/www/wordpress/>
                AllowOverride All
        </Directory>

        ErrorLog ${APACHE_LOG_DIR}/error.log
        CustomLog ${APACHE_LOG_DIR}/access.log combined

</VirtualHost>
After this step, we just need to install PHP and some needed modules:
sudo apt install php php-curl php-gd php-mbstring php-xml php-xmlrpc php-soap php-intl php-zipAlso install the PHP MySQL module:
sudo apt install php*-mysqliAnd at last, restart the Apache service to load all the changes:
sudo service apache2 restartInstalling MySQL database
MySQL is a relational database server, in this steps we will cover the basics needs to isntall and configure it to use with WordPress. If you need more information, you can check my other post about a MySQL installation on Ubuntu 20 and Raspberry. Now we will proceed to install it by typing:
sudo apt install mysql-serverWhen it finishes the installation, we will log into MySQL, to create the user and database that will be used by WordPress. To log in type:
sudo mysql -u rootThe next step is to create our user, in this case, i will use wordpress as the user name, but you can type de username that you want. Remember to use your own password.
CREATE USER 'wordpress'@'localhost' IDENTIFIED BY 'password';After that, we will create the database (I will use the name wordpress aswell), and assign permissions over it to our new user wordpress. To do it:
CREATE DATABASE wordpress;
USE wordpress;
GRANT ALL PRIVILEGES ON wordpress.* TO 'wordpress'@'localhost';
FLUSH PRIVILEGES;
QUIT;
Download and install WordPress
Now it is time to download and install wordpress. To begin with, whe must download wordpress itself, moving to our home directory so no permissions needed:
cd
curl -O https://wordpress.org/latest.tar.gz
Once the download finishes, the next step is to uncompress the file, and delete the original:
tar xzvf latest.tar.gz
rm lates.tar.gz
Let’s create a sample to the .htaccess file inside the wordpress folder:
touch /tmp/wordpress/.htaccessMoving the wordpress folder to it’s host will be needed:
sudo cp -a ./wordpress/. /var/www/wordpress
At last, we will assign some permissions over the WordPress files:
sudo chown -R www-data:www-data /var/www/wordpress
Configuring WordPress
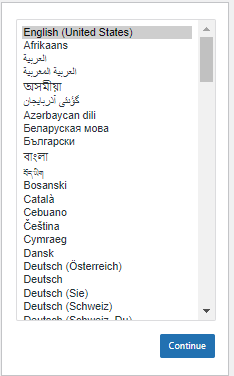
Once we finish the previous steps, we need to access to WordPress web page, by accessing to the IP using a web browser (i.e: http://192.168.1.140). The first step is to pick a language:
Before that, a message will appear, telling us the steps that wordpress initial configuration will follow:
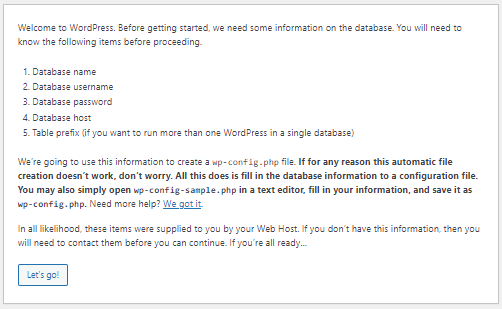
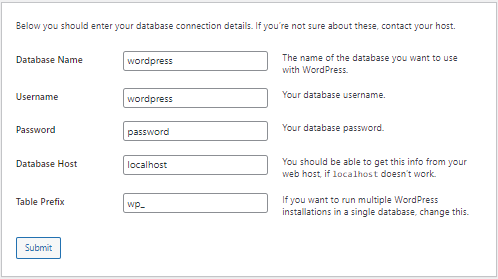
The next page is all about database connectons, asking us about the database name, connection data, host, etc. We must fill all the fields properly.
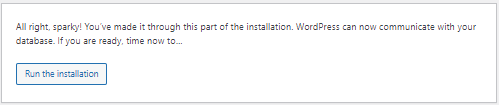
After that step, this message will follow, just click on Run the installation:
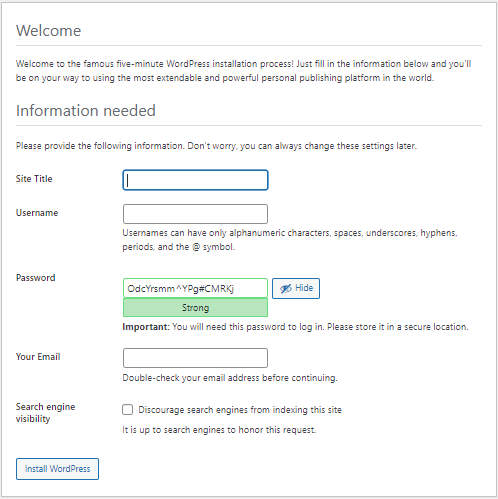
Now, it’s time to configure the basic settins of the site, to let wordpress install it properly. This configuration includes the site’s name, the admin user and password, and an email:
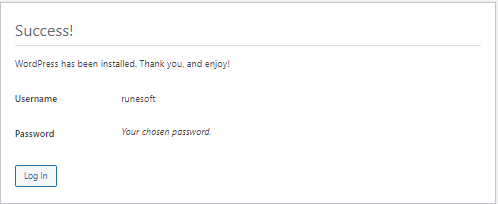
As the last step, WordPress will advice us that the installation worked properly, and a button to go to the login page. There we must use our user and password, specified in the previous step.
Login page:
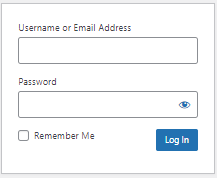
And finally, the main WordPress page!


