Some times you want to run a simple database, API or other piece of sofware ond your local enviroment, but VMs use to be a bit of a pain. Docker solve all of this, and in combination with Portainer, you obtain a pretty useful web admin GUI, so let’s get started!
First of all, Docker has a daemon known as docker engine, which is prepared to run on Linux OS, but we can also have it on Windows 11 thanks to that awesome WSL integration.
This time I’ll cover how to install Docker on both Windows and Linux.
Docker on Windows 11
Installing Docker on Windows requires an application named Docker Desktop, which you can download here.
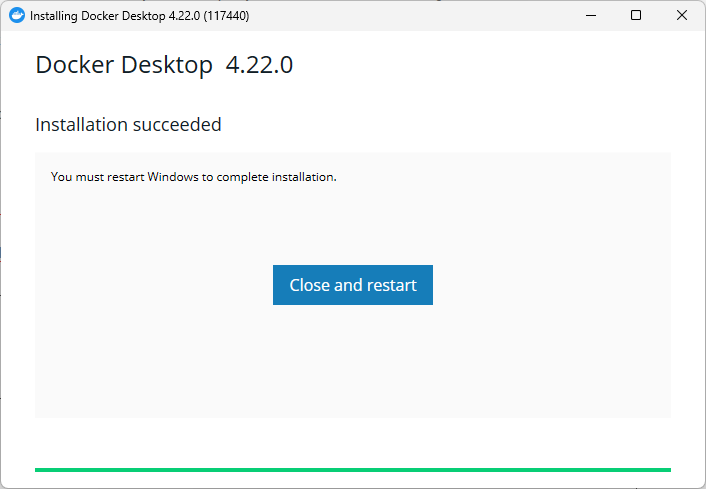
Once download, execute the installer and just follow the needed steps. When it finishes, it asks to reboot:
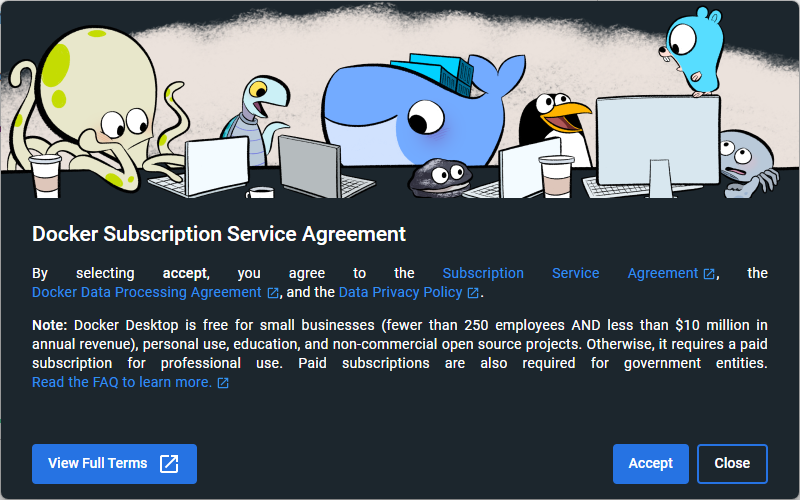
Once rebooted, Docker Desktop will open and ask you to accept the service agreement:
If you are using Windows 11, maybe you get this error when accepting and trying to launch Docker Desktop:
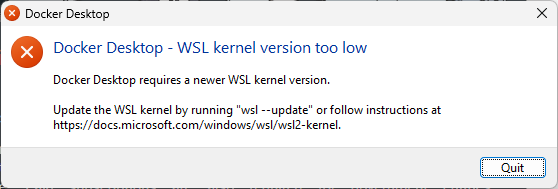
Open a terminal console or Powershell, and execute the command:
wsl --updateOnce WSL is installed and updated, open the Microsoft Store application and download Ubuntu (yes, you can download Ubuntu, Fedora or Khali from Microsoft store, seems weird I know).
Then, open it and complete the installation process. It will ask for a user name to create it, and a password. Now, let’s open Docker Desktop:
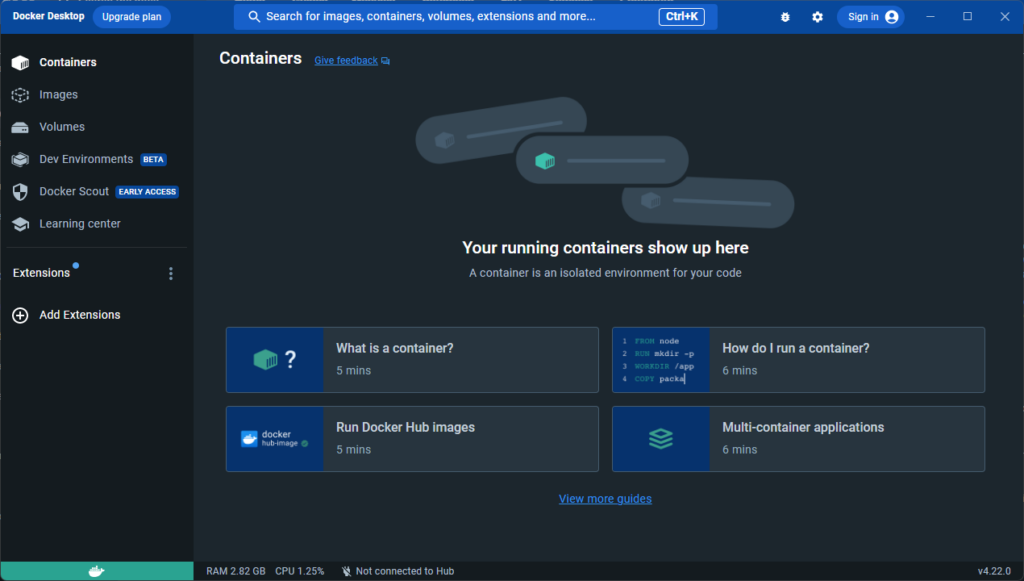
Go to Docker Desktop options (top right) and go to Resources > WSL integration, this will use Linux Kernel integration instead of creating VMs. It also allows us to select which linux distribution we want to use:
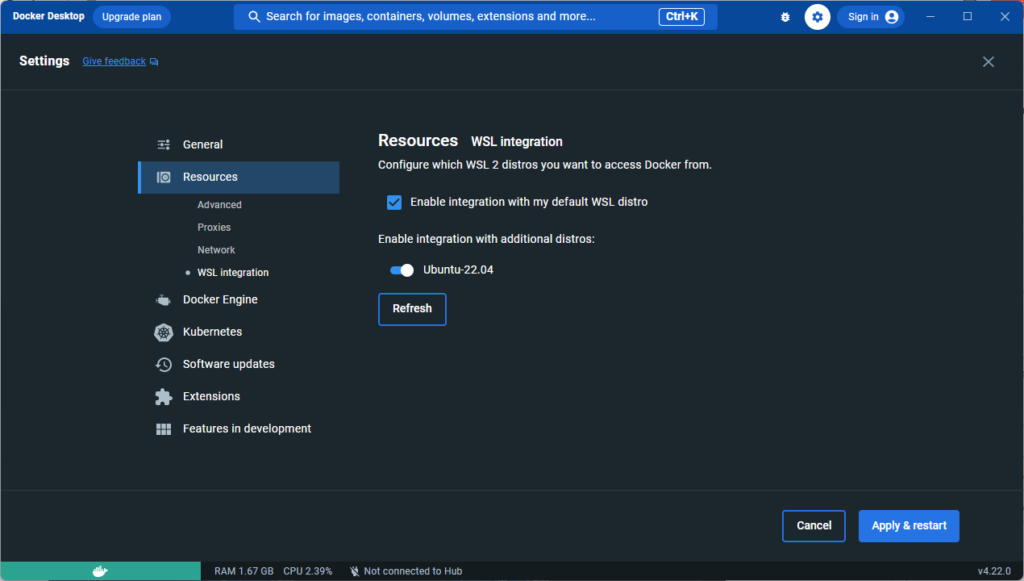
Click on “Apply & restart”, wait until it loads again, and now you can open your Ubuntu distro on Windows and use Dockers commands inside it. Remember that to be able to use Docker CLI, Docker Desktop must be active and running on Windows.
Docker on Linux
I’ll be using Ubuntu 22.04 as my preferred Linux distro.Docker has several ways to install it, but the easiest one is by executing the get.docker.com SH file. This will install and configure all the needed packages that allows Docker to work properly. To do so:
curl -sSL https://get.docker.com | shIf you don’t want to execute that script, this are the steps to manually install it, starting by updating our repos and allowing apt to use HTTPS repos
sudo apt update && sudo apt install ca-certificates curl gnupgNow let’s add the official Docker repo GPG key:
sudo install -m 0755 -d /etc/apt/keyrings
curl -fsSL https://download.docker.com/linux/ubuntu/gpg | sudo gpg --dearmor -o /etc/apt/keyrings/docker.gpg
sudo chmod a+r /etc/apt/keyrings/docker.gpg
Configure Docker repo:
echo \
  "deb [arch="$(dpkg --print-architecture)" signed-by=/etc/apt/keyrings/docker.gpg] https://download.docker.com/linux/ubuntu \
  "$(. /etc/os-release && echo "$VERSION_CODENAME")" stable" | \
  sudo tee /etc/apt/sources.list.d/docker.list > /dev/null
Update apt repo cache again:
sudo apt updateTime to download and install docker with the following command:
sudo apt install docker-ce docker-ce-cli containerd.io docker-buildx-plugin docker-compose-pluginCheck docker version:
sudo docker --versionAnd let’s run a test container to check it works properly:
sudo docker container run --rm hello-worldThe output should look like this one:
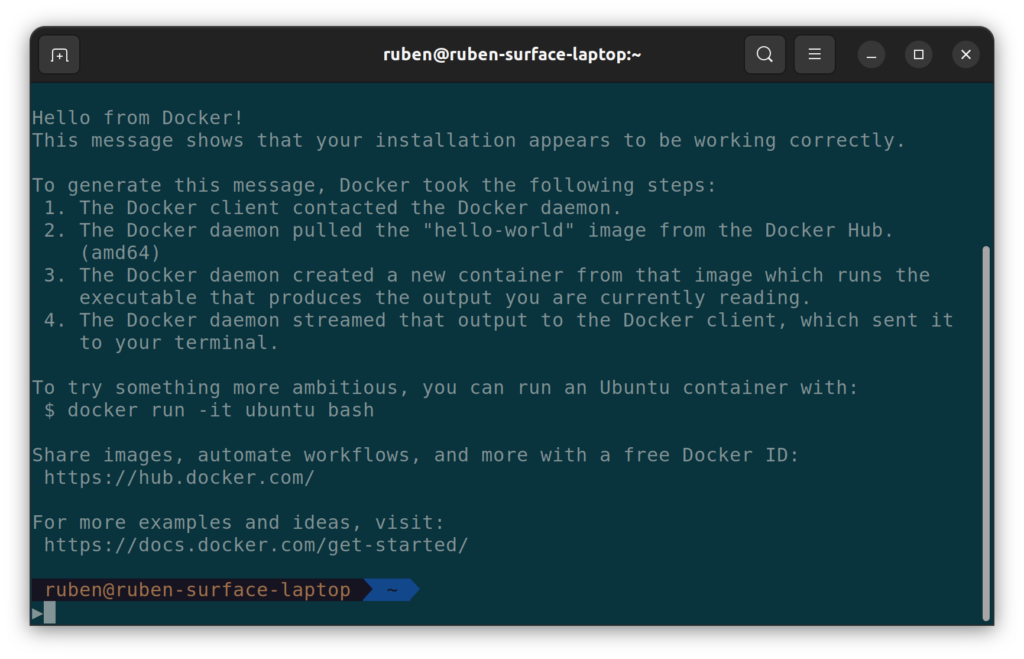
Install Portainer CE
Portainer CE is a web GUI that allows us to view, create and operate with our containers. It can do almost everything, from volumes, services, to swarm and stacks. For now, and for local personal use, its more than enough. Portainer is also a Docker container, so we need to execute some Docker commands to run it. First, let’s create the volume where Portainer will store it’s data:
sudo docker volume create portainer_dataWith this volume created, it’s time to create the container:
sudo docker run -d -p 8000:8000 -p 9443:9443 --name portainer --restart=always -v /var/run/docker.sock:/var/run/docker.sock -v portainer_data:/data portainer/portainer-ce:latestLet’s wait a bit so Docker downloads the image and starts the container, ant then open a web browser and go to https://localhost:9443/, and this window should appear:
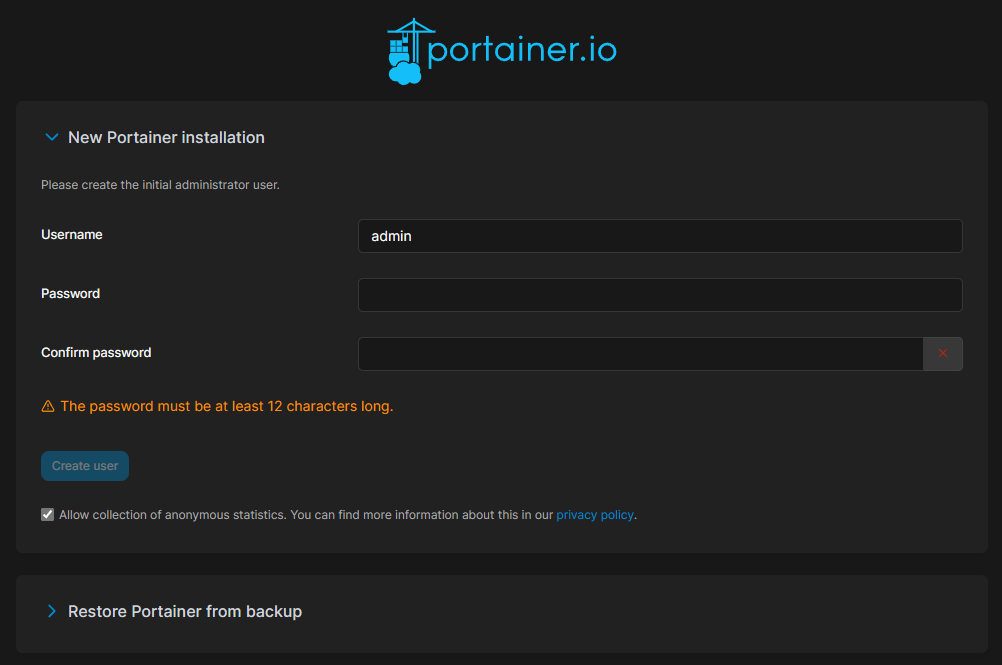
Create your user and password, log in, then, this page will show up:
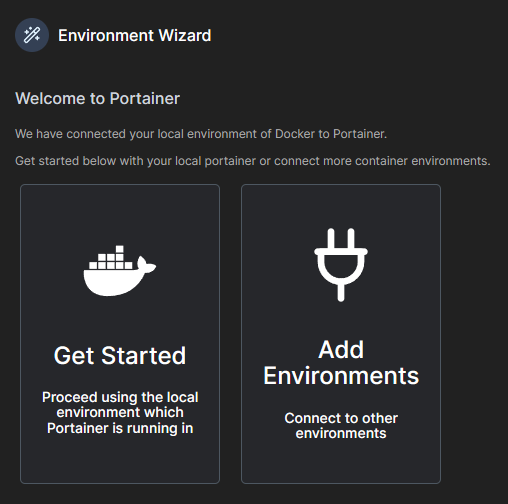
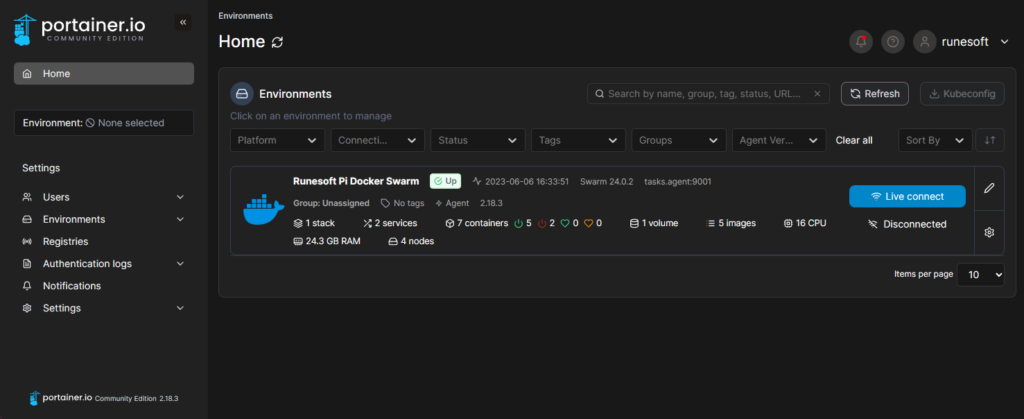
Select Get Started, and it’s done, you have your Portainer working:


