
Postgre is one of the most used relational databases nowadays, and for developers, having our dev database locally runing can be pretty useful. Docker can solve this. In this post we will cover two ways to create and configure PostgreSQL in a container: Docker CLI and Portainer CE.
Requisites
To properly continue with this post, you must meet the following requisites:
- Have docker installed, you can follow this guide I’ve done.
- Have some DB Admin GUI/CLI, I use DBeaver.
- Portainer CE installed (just for the second part).
Using Docker CLI
This one is the most straight forward and more popular. With a single comand, we will have the service runing, with a default user and database, just change the password enviroment variable:
docker run --name psql -e POSTGRES_PASSWORD=<password> -p 5432:5432 -d postgresThis is simple, but Postgre Docker image has more enviroment variables that let us define other things such as the user name or the database to create:
docker run --name psql -e POSTGRES_USER=<user> -e POSTGRES_PASSWORD=<password> -e POSTGRES_DB=<database> -p 5432:5432 -d postgresBut, what about our databse data, where is stored? As all Docker container, we can bind a volume to one path of the container, in this case, the database data is written on /var/lib/postgresql/data. So let’s create the container with the volume too:
docker run --name psql -e POSTGRES_USER=<user> -e POSTGRES_PASSWORD=<password> -e POSTGRES_DB=<database> -p 5432:5432 --volume psql_data:/var/lib/postgresql/data -d postgresThis is a one liner command. You can also create the volume and then bind it to this container, but I think it’s easier this way.
Docker CLI and Compose
But what abou a docker-compose file? Let’s create the .yaml to do the same as the command before:
version: '3.5'

services:
  psql:
    image: postgres
    restart: always
    environment:
      POSTGRES_USER: <user>
      POSTGRES_PASSWORD: <password>
      POSTGRES_DB: <db>
    volumes:
      - psql_data:/var/lib/postgresql/data
    ports:
      - 5432:5432

volumes:
  psql_data:
Before executing this command, check the docker-compose version tag compatibility with your docker version on this list, change it if needed, and just type this command, substituting the path and name with your needs:
docker compose -f <path_to_file>/<file_name>.yml up -dAnd it’s done!
Using Portainer GUI
Other way I use to deploy my containers and stacks, is Portainer CE, which provides a pretty useful web GUI to do all the Docker tasks I need, and it also support Docker Swarms. To achieve the same task of deploying a PostgreSQL container, we can take two ways: Container deployment, or Docker Compose / Stacks. Let’s start with the first one. Go to the web GUI, select your node and go to “Volumes” on the left menu:
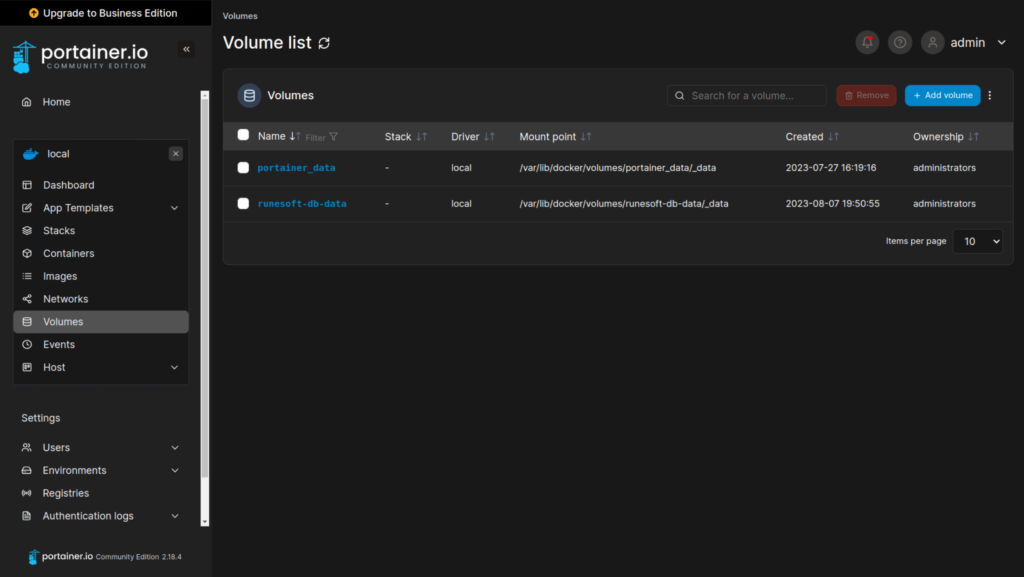
Once you are on the volume list (you may have no one created yet), click on “+ Add volume” at the top right:
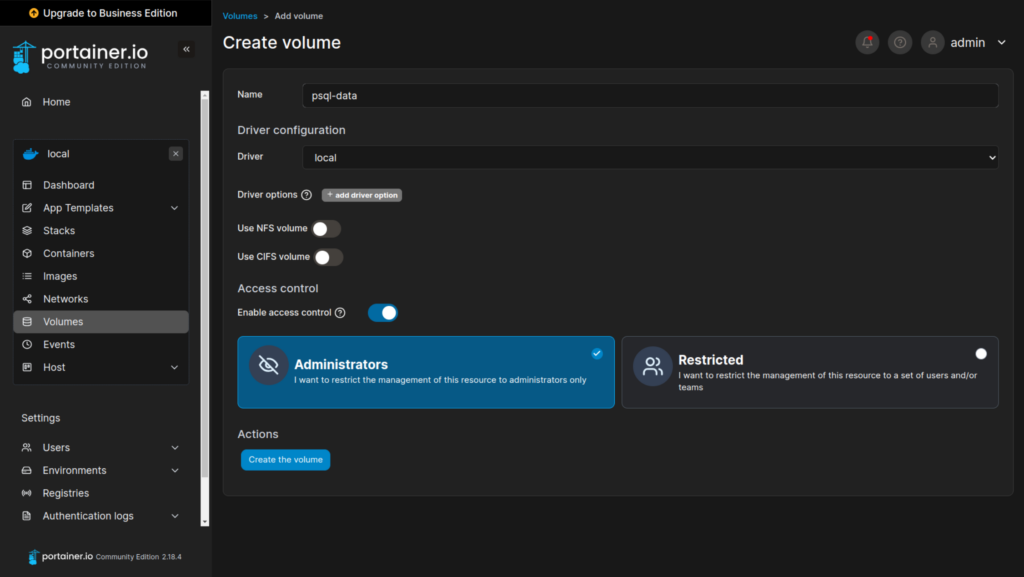
Give a name to this volume, and leave the other options. Then, click on “Create the volume“, and go to “Containers” on the left menu.
Click on “+ Add container“, and give it a name, and pick the postgres image:

Down below, let’s add the port configuration, by clicking on “+ publish a new network port“, and using 5432 on both host and container.

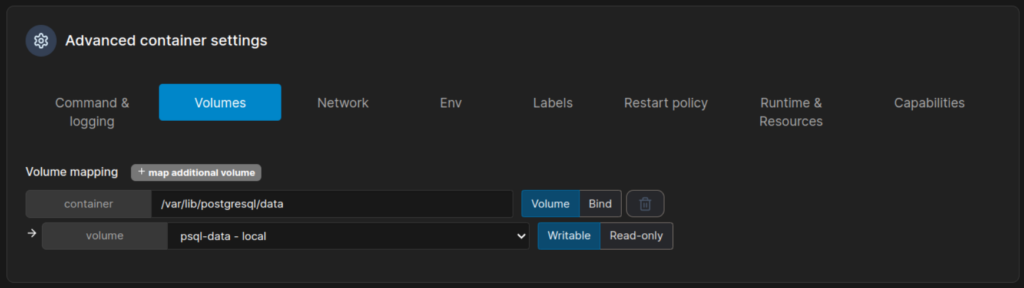
At the bottom, we have the Advanced container settings, where we can select our volume, and add our enviroment variables. Let’s start with the volume: Click on “+ map additional volume” and fill container’s field with the path /var/lib/postgresql/data; for the volume, select the one we have created before.
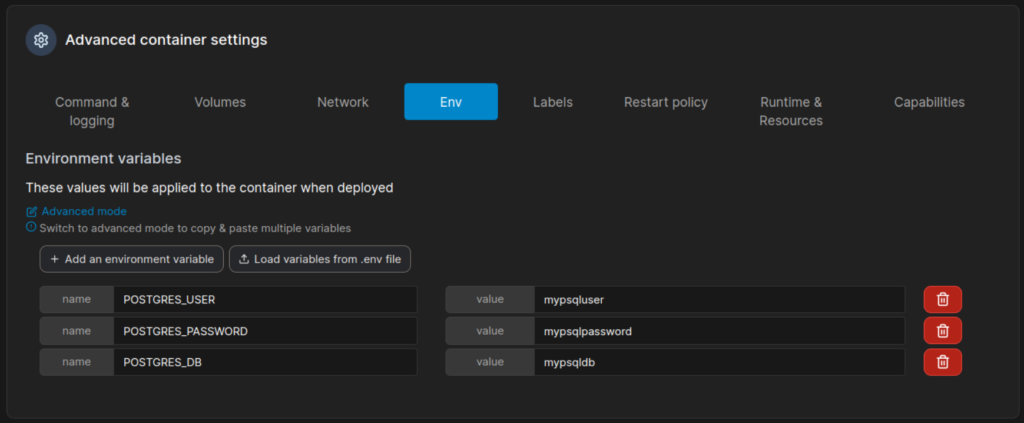
Now, let’s click on “Env” to set up the enviroment variables, and click “+ Add an enviroment variable” for each one of the following, and fill the values:
POSTGRES_USERPOSTGRES_PASSWORDPOSTGRES_DB
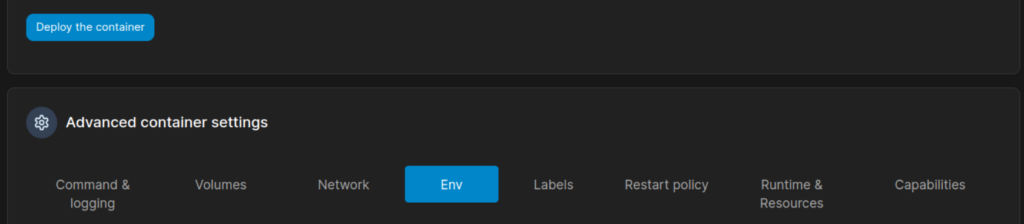
Now click on “Deploy container” on the top left, just above of “Advanced container settings“:
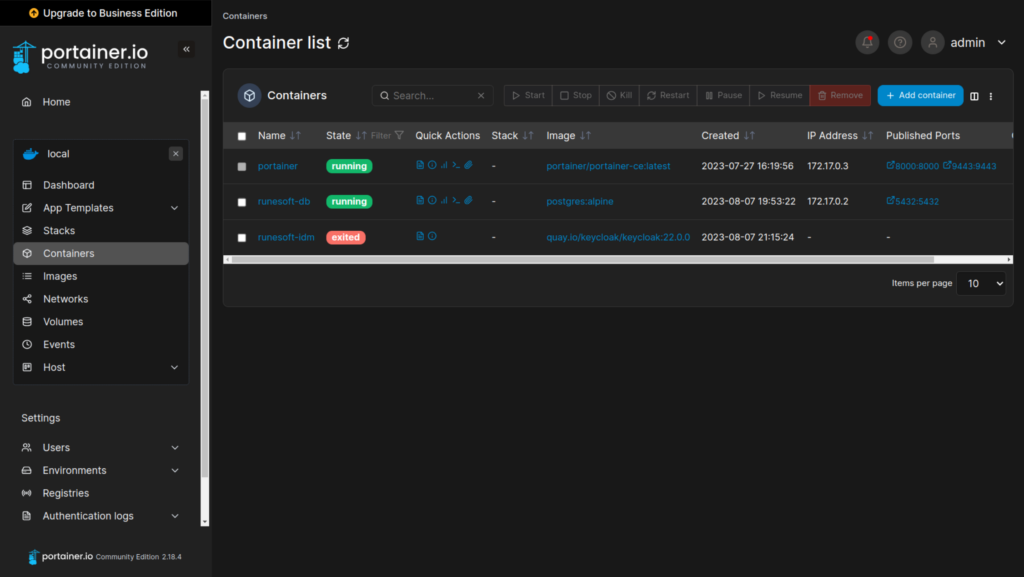
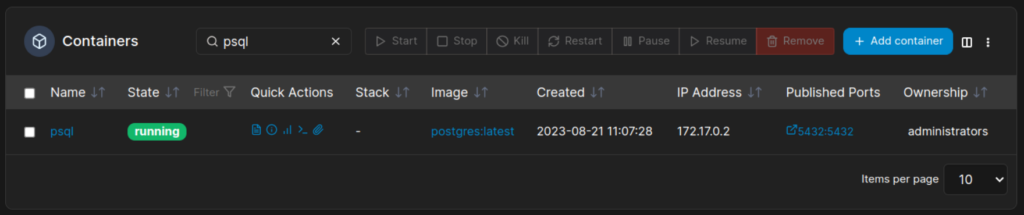
And it’s done! You have your container created:
But now… What about that easy way with “docker-compose” we had with Docker CLI?
Portainer GUI and Stacks (Compose)
If you created that container before, either use other port on the host or remove the container. Then, go to “Stacks” on the left menú:
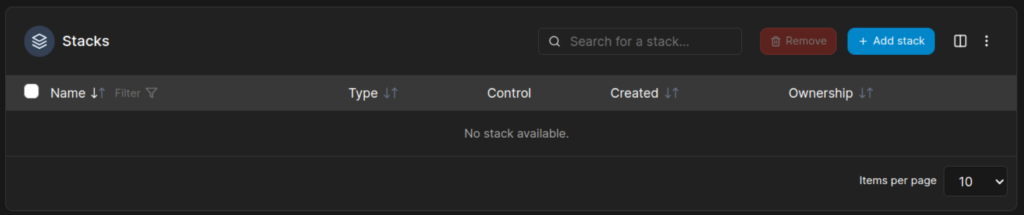
Click on “+ Add stack“, give it a name:
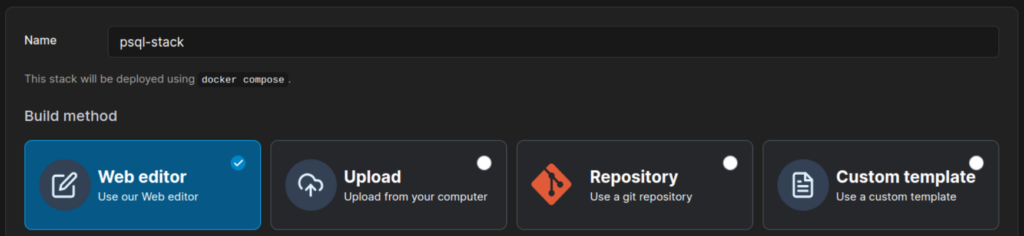
And here, select either “Upload” and pick that docker-compose.yml that we created before; or select “Web editor” to paste this:
version: '3.5'

services:
  psql:
    image: postgres
    restart: always
    environment:
      - POSTGRES_USER=$POSTGRES_USER
      - POSTGRES_PASSWORD=$POSTGRES_PASSWORD
      - POSTGRES_DB=$POSTGRES_DB
    volumes:
      - postgres:/var/lib/postgresql/data
    ports:
      - 5432:5432

volumes:
  postgres:
Should look like this:
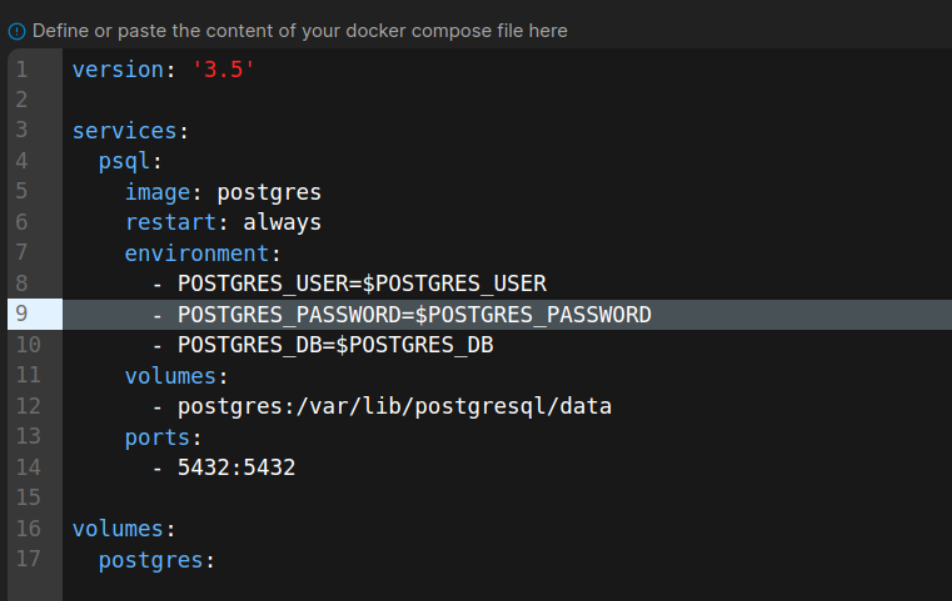
Remember to add the enviroment variables down below with your user, password and database, like we did before. Now just click on “Deploy the stack“, and the stack will deploy!
Check connection
Open your DB Admin GUI of your preference. I use DBeaver as mentioned in the requisites section. Once opened, click on “New connection” on the top left:
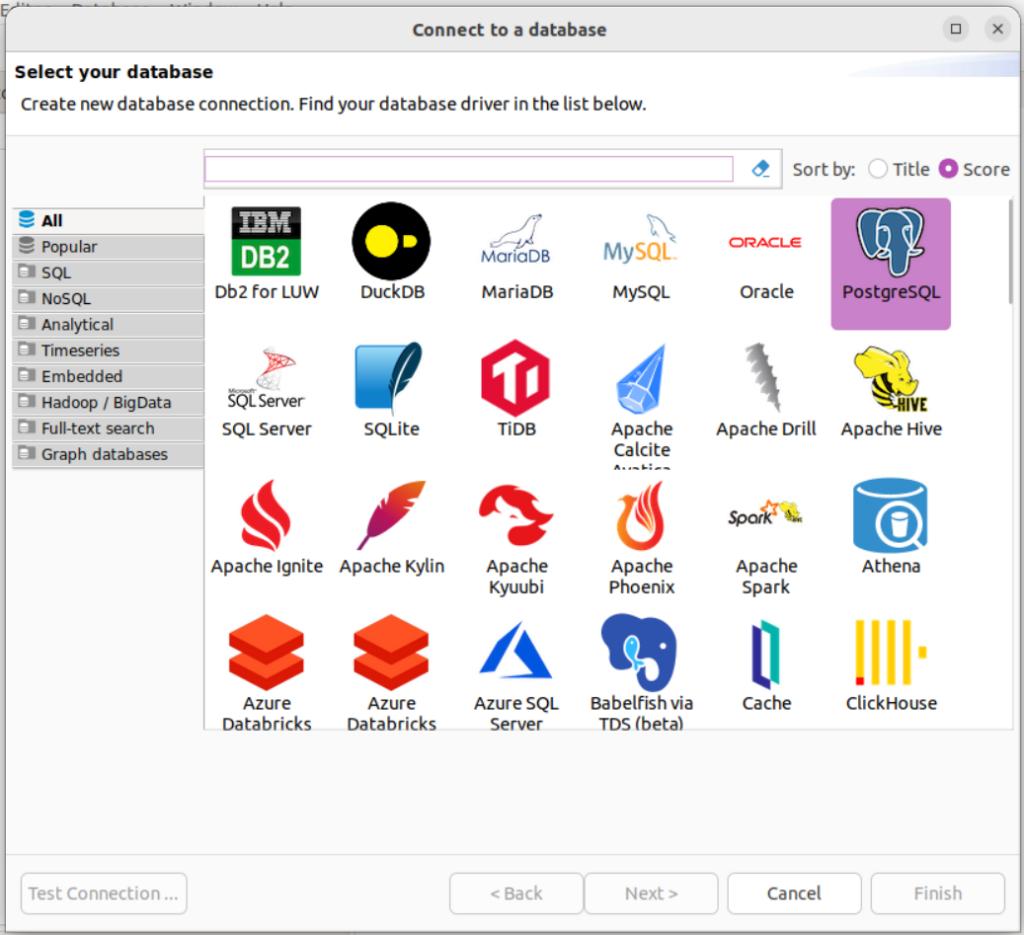
Select PostgreSQL and click on “Next >” to go to Posgres’ connection configuration.
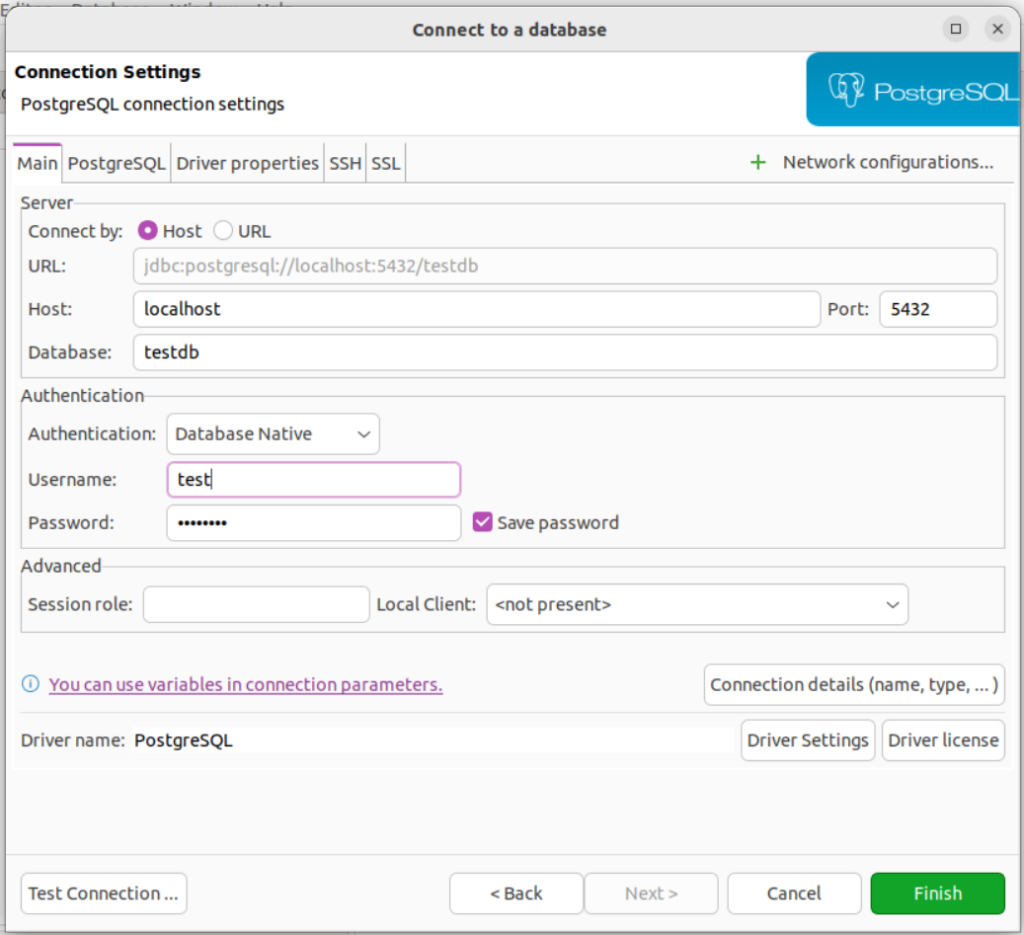
Fil it with your connection user, password and database, and now click on “Test Connection …“.
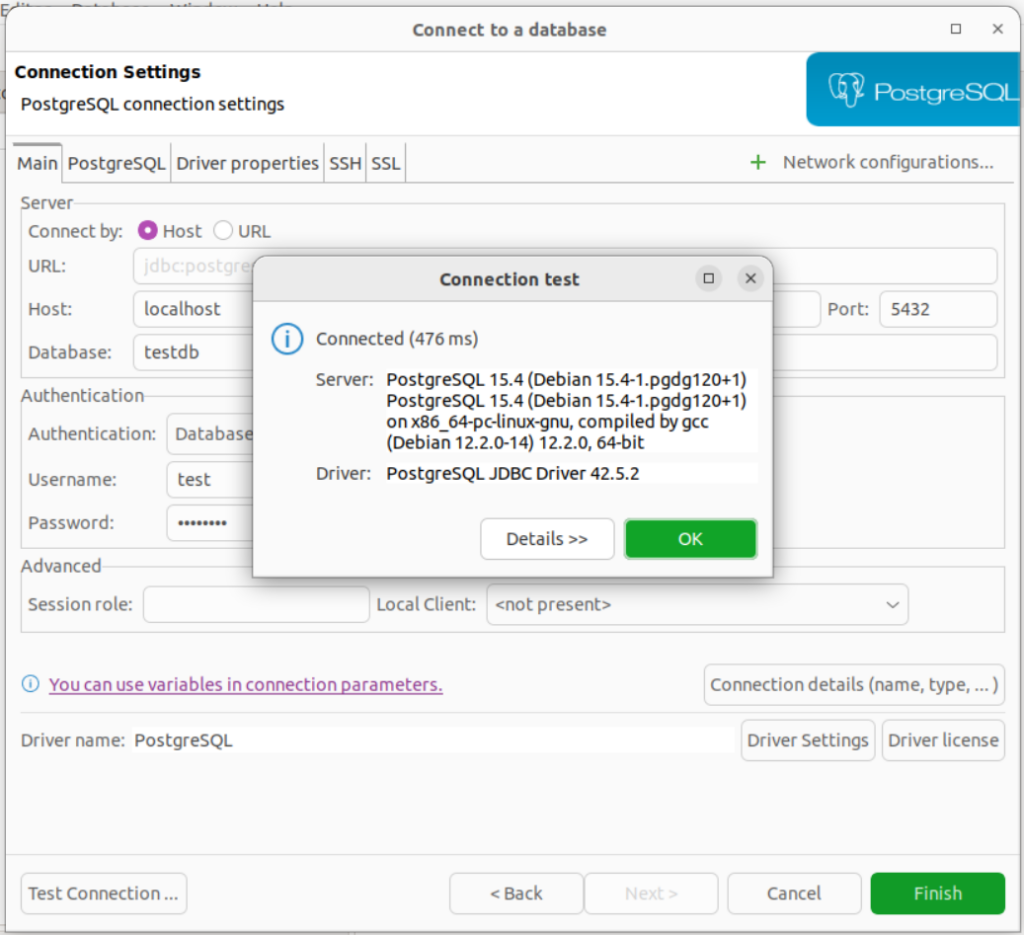
Now we checked that the database is created an listening to connections! Click on finish and then you will be able to play around with your new DB instance of PostreSQL on Docker.
Conclusions
With this guide, we have learned:
- How to create a Docker container with Docker’s CLI, in this case, a Postgre database, but it’s mostly applicable to every container, just chainging variables, volumes, or other params.
- About Portainer, it’s GUI and how to create containers and stacks there.
- That compose/stacks are a quite easy way to deploy a maintain containers.
- How to create and test a connection using DBeaver as a DB GUI.


